10. [etc] Windows에서 Macos 사용하기
사전 준비
1. 코어 격리
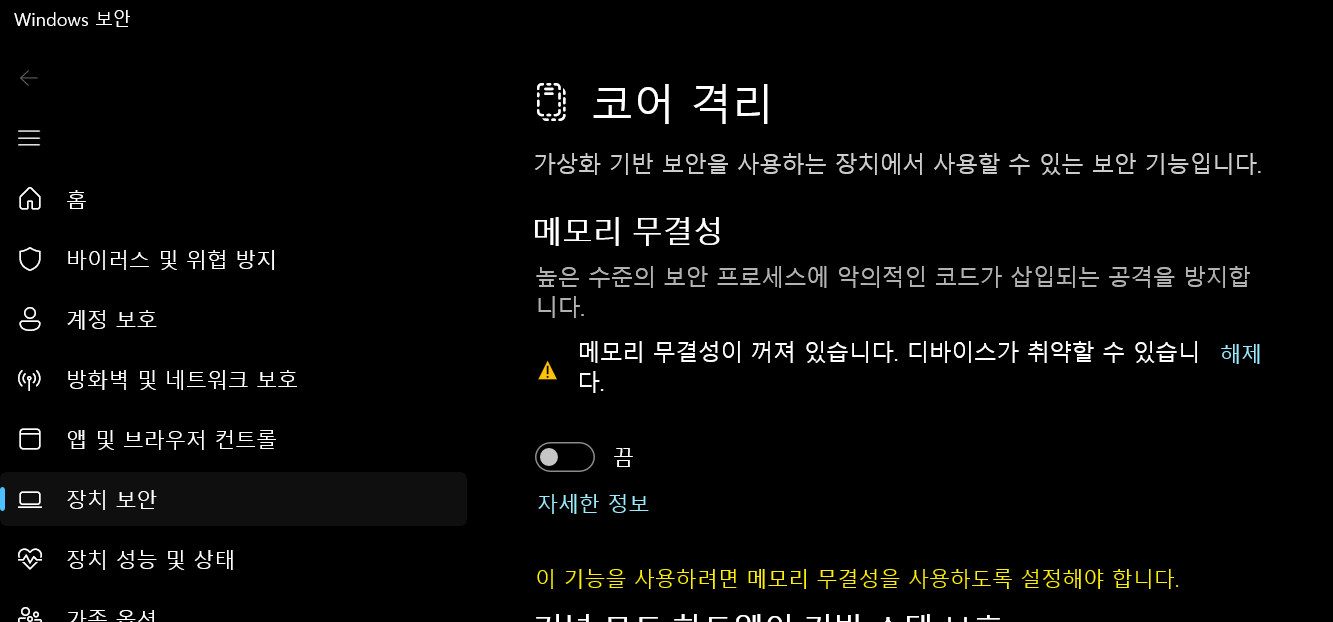
2. hyper-v 끄기
cmd를 관리자 권한으로 실행 후
bcdedit /set hypervisorlaunchtype off
The operation completed successfully.
요래 나오면 성공. 그리고 컴퓨터 재시작해야한다.
3. virtualbox 다운로드
VirtualBox 다운로드 링크로 가서 windows host로 다운로드 합니다.
4. macos iso 다운로드
MacOS 다운로드 링크로 가서 macos iso를 다운로드 합니다.
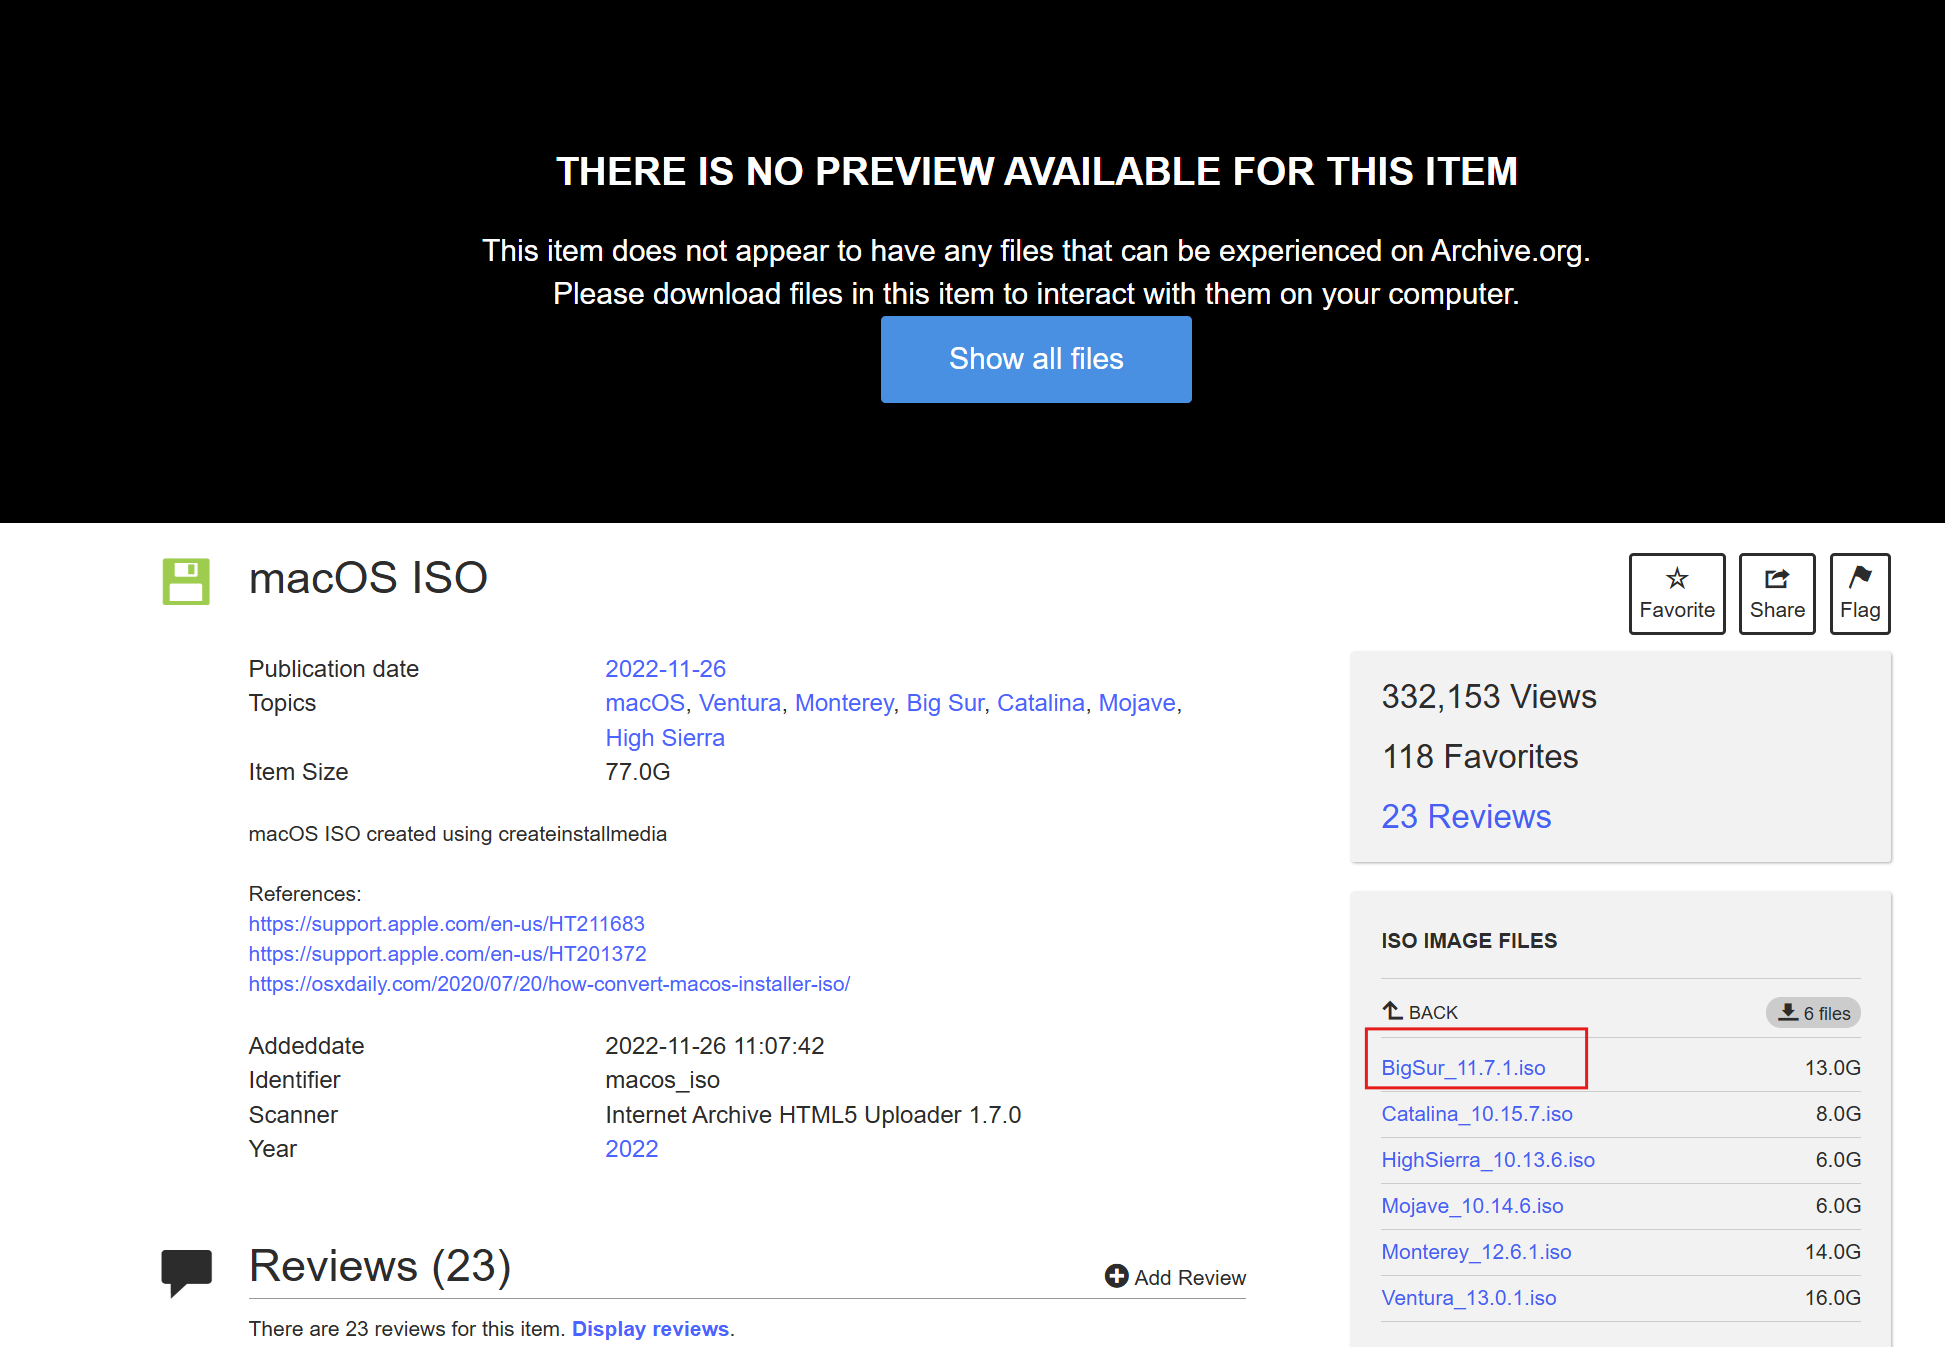
BigSur로 다운로드 했습니다.
만들기
1. 이미지 넣기
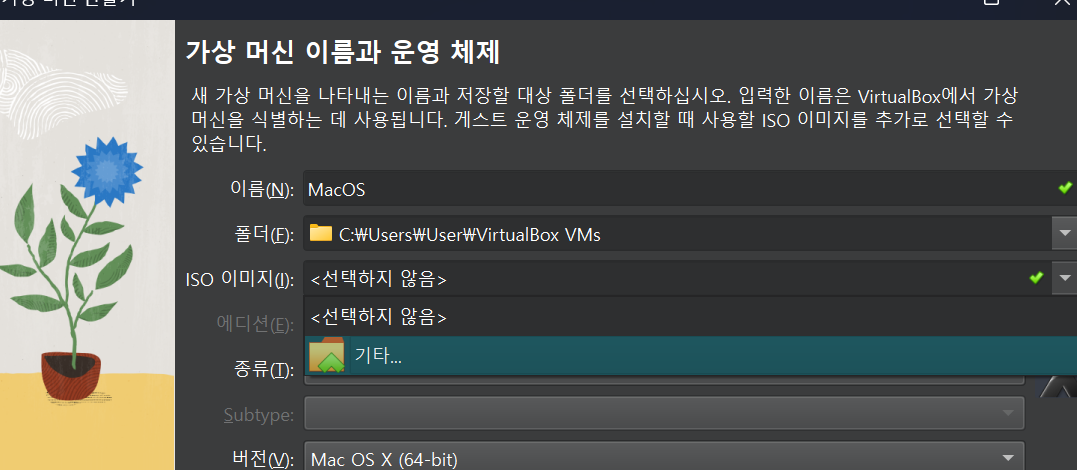

다운로드 받았던 iso 파일을 넣습니다.
타입은 Mac OS X 버전은 Mac Os X (64-bit) 로 정합니다.
2. 설치 준비
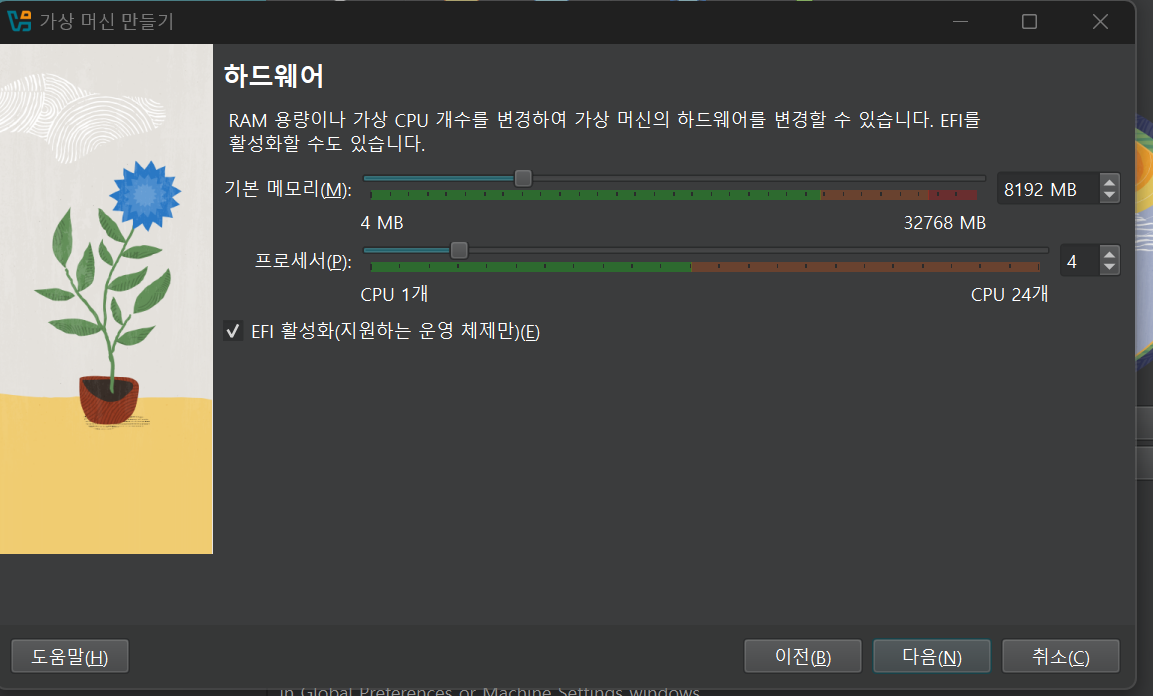
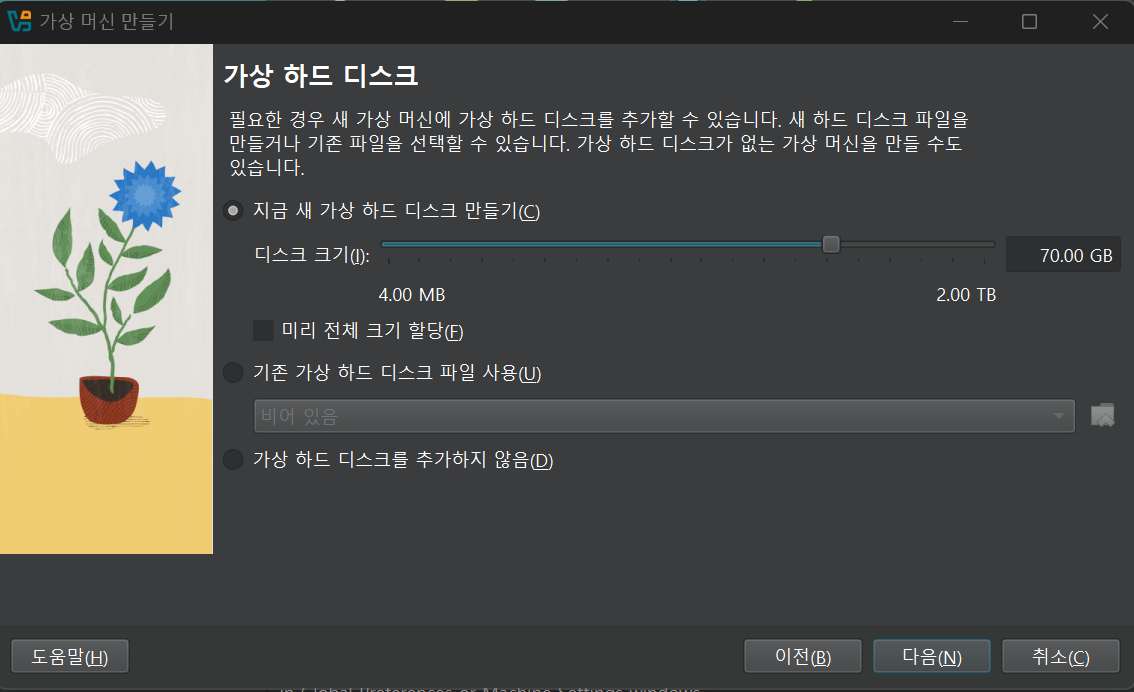
하드웨어 설정하고
3. 시스템 설정
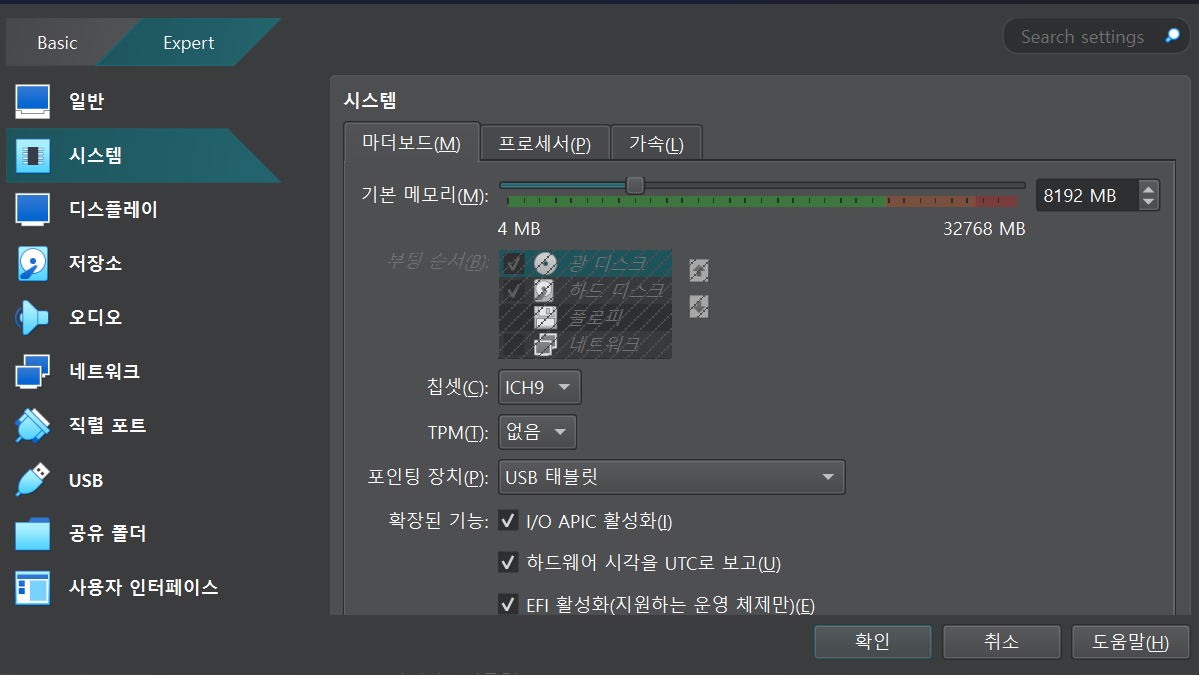
시스템 설정을 해야하는데 부팅 순서를 변경해야합니다.
EFI를 잠깐 비활성화 했다가 플로피 uncheck를 해주시고 다시
I/O..., 하드웨어.., EFI..를 활성화 시켜줍니다.
4. 네트워크 설정
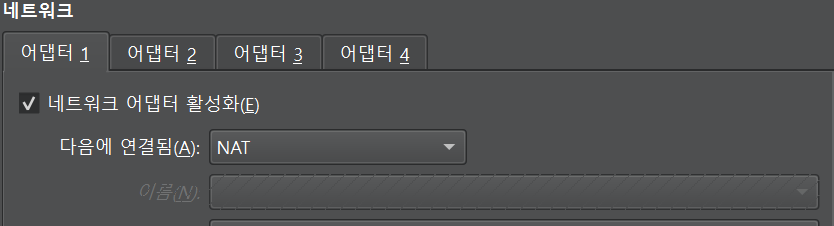
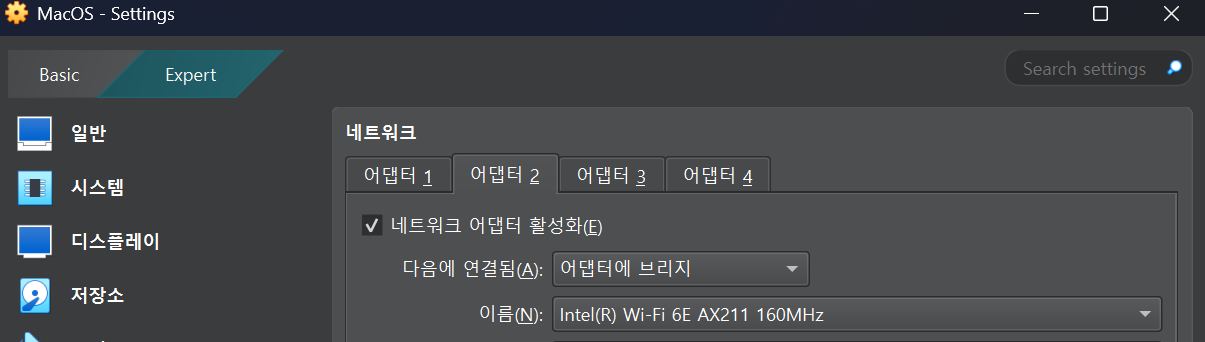
5. 디스플레이 설정
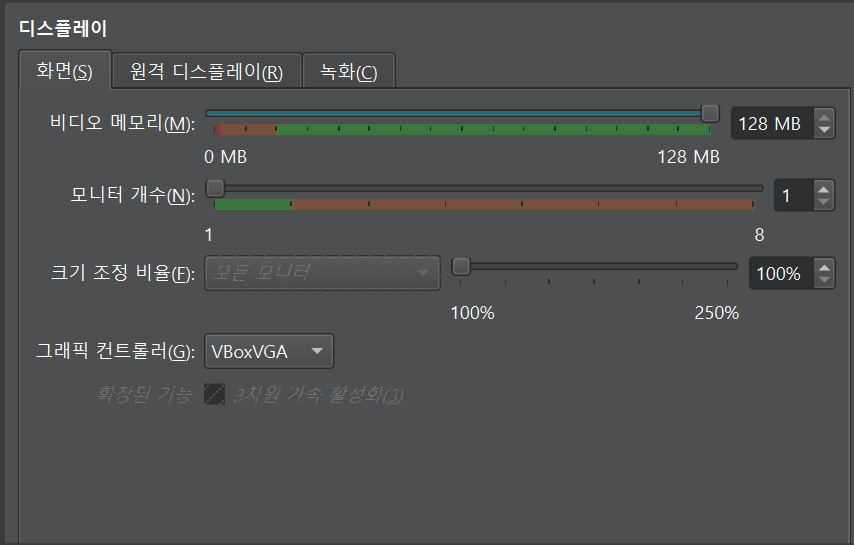
명령어 입력
cmd를 관리자 권한으로 실행하여 다음 명령어를 입력합니다.
intel cpu는 아래처럼 하면됩니다.
cd "C:\Program Files\Oracle\VirtualBox\"

VBoxManage.exe modifyvm "{VM 이름}" --cpuidset 00000001 000106e5 00100800 0098e3fd bfebfbff

VBoxManage setextradata "{VM 이름}" "VBoxInternal/Devices/efi/0/Config/DmiSystemProduct" "iMac19,3"

VBoxManage setextradata "{VM 이름}" "VBoxInternal/Devices/efi/0/Config/DmiSystemVersion" "1.0"

VBoxManage setextradata "{VM 이름}" "VBoxInternal/Devices/efi/0/Config/DmiBoardProduct" "Iloveapple"

VBoxManage setextradata "{VM 이름}" "VBoxInternal/Devices/smc/0/Config/DeviceKey" "ourhardworkbythesewordsguardedpleasedontsteal(c)AppleComputerInc"

VBoxManage setextradata "{VM 이름}" "VBoxInternal/Devices/smc/0/Config/GetKeyFromRealSMC" 0

VBoxManage setextradata "{VM 이름}" "VBoxInternal/TM/TSCMode" "RealTSCOffset"
cd "C:\Program Files\Oracle\VirtualBox\"

VBoxManage.exe modifyvm "{VM 이름}" --cpuidset 00000001 000106e5 00100800 0098e3fd bfebfbff

VBoxManage setextradata "{VM 이름}" "VBoxInternal/Devices/efi/0/Config/DmiSystemProduct" "iMac19,3"

VBoxManage setextradata "{VM 이름}" "VBoxInternal/Devices/efi/0/Config/DmiSystemVersion" "1.0"

VBoxManage setextradata "{VM 이름}" "VBoxInternal/Devices/efi/0/Config/DmiBoardProduct" "Iloveapple"

VBoxManage setextradata "{VM 이름}" "VBoxInternal/Devices/smc/0/Config/DeviceKey" "ourhardworkbythesewordsguardedpleasedontsteal(c)AppleComputerInc"

VBoxManage setextradata "{VM 이름}" "VBoxInternal/Devices/smc/0/Config/GetKeyFromRealSMC" 0

VBoxManage modifyvm "{VM 이름}" --cpu-profile "Intel Core i7-6700K"

VBoxManage setextradata "{VM 이름}" "VBoxInternal/TM/TSCMode" "RealTSCOffset"
시작
그리고 시작하기 누르면 됩니다.
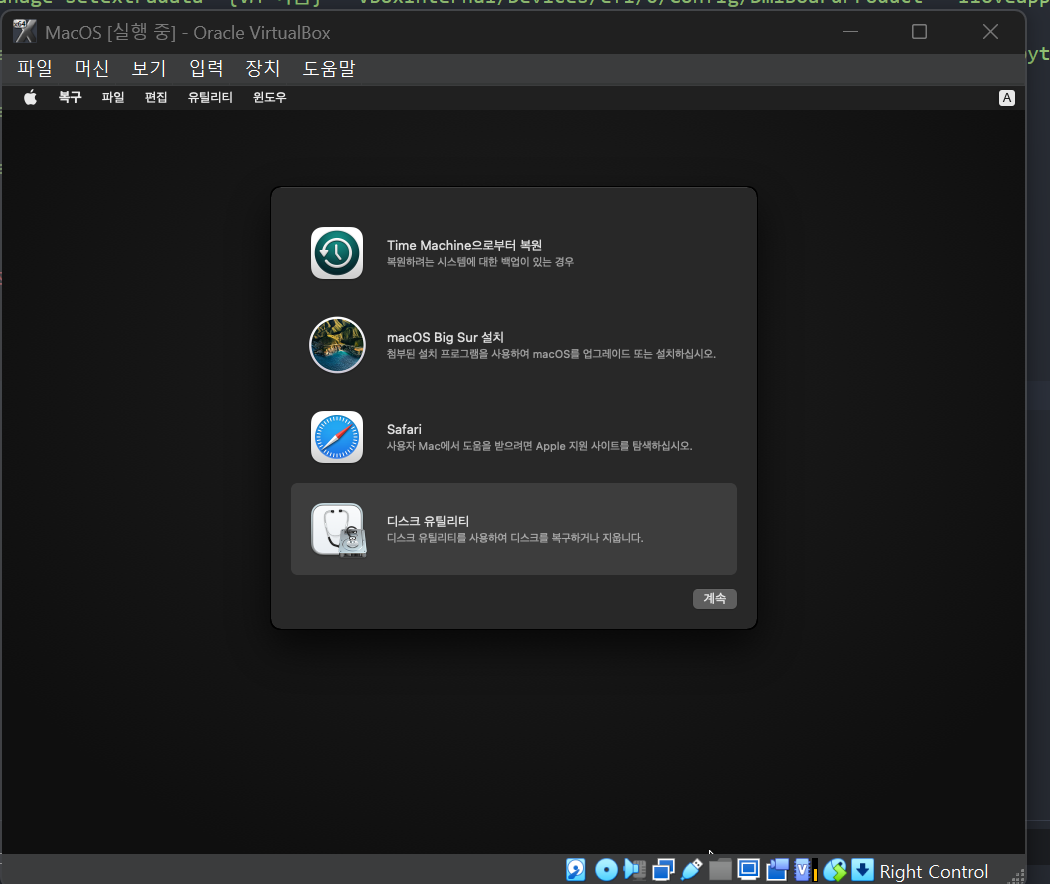
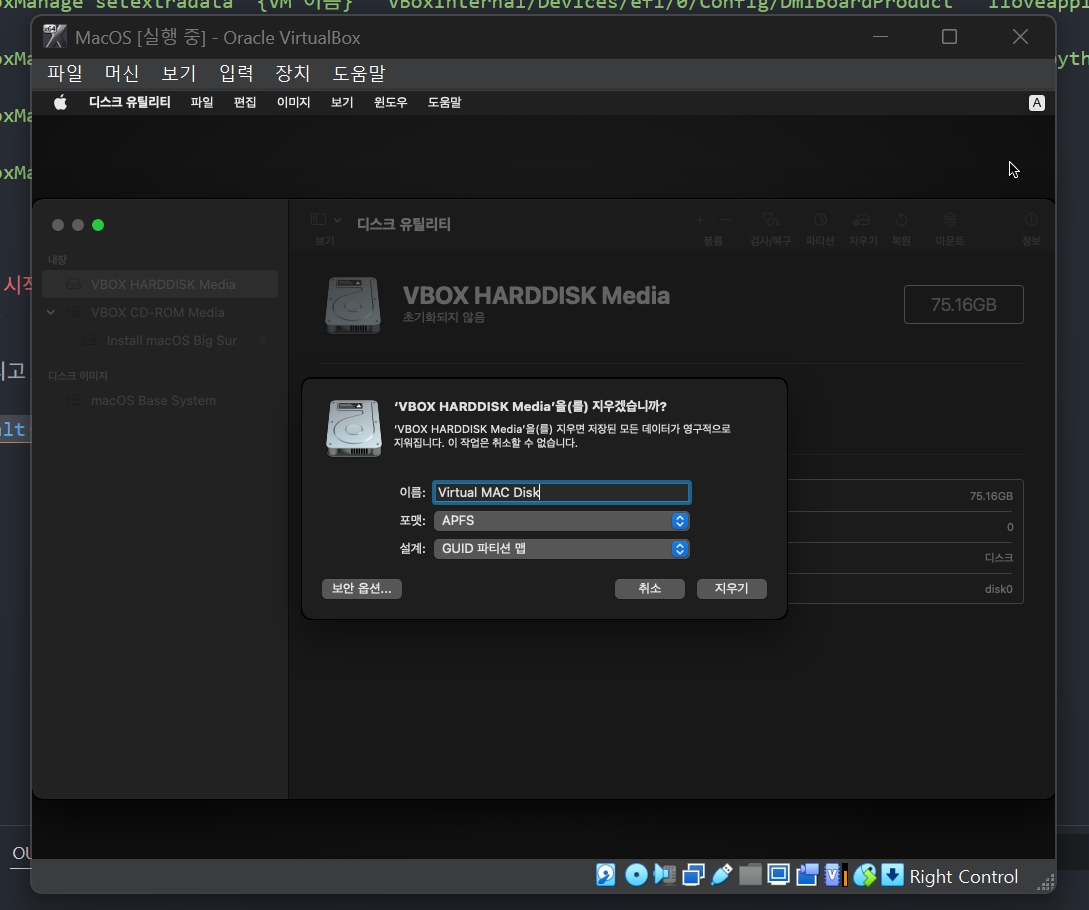
지웁니다. 다 지워지면 완료를 누르고 disk utility를 나옵니다.
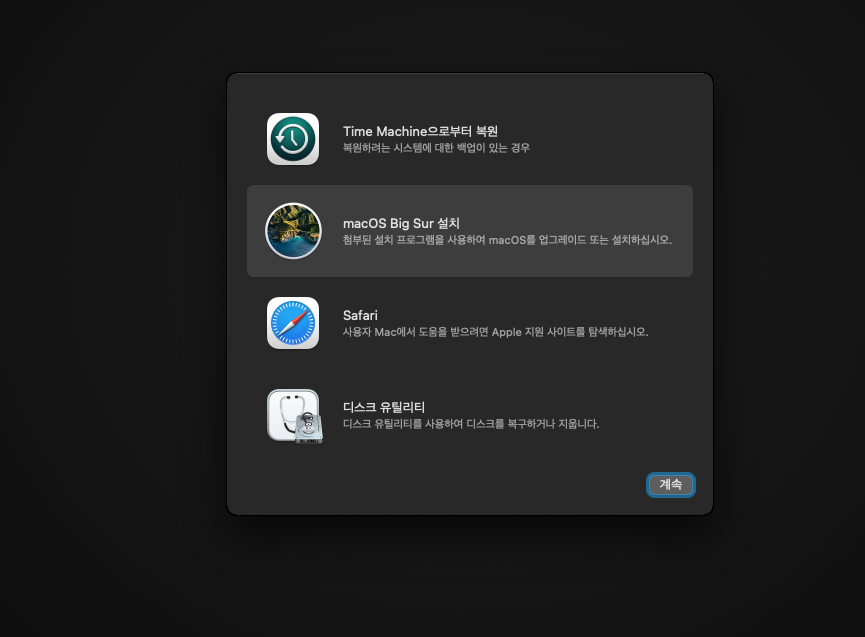
이걸 누르고 진행합니다.
...
설치가 진행된 후에
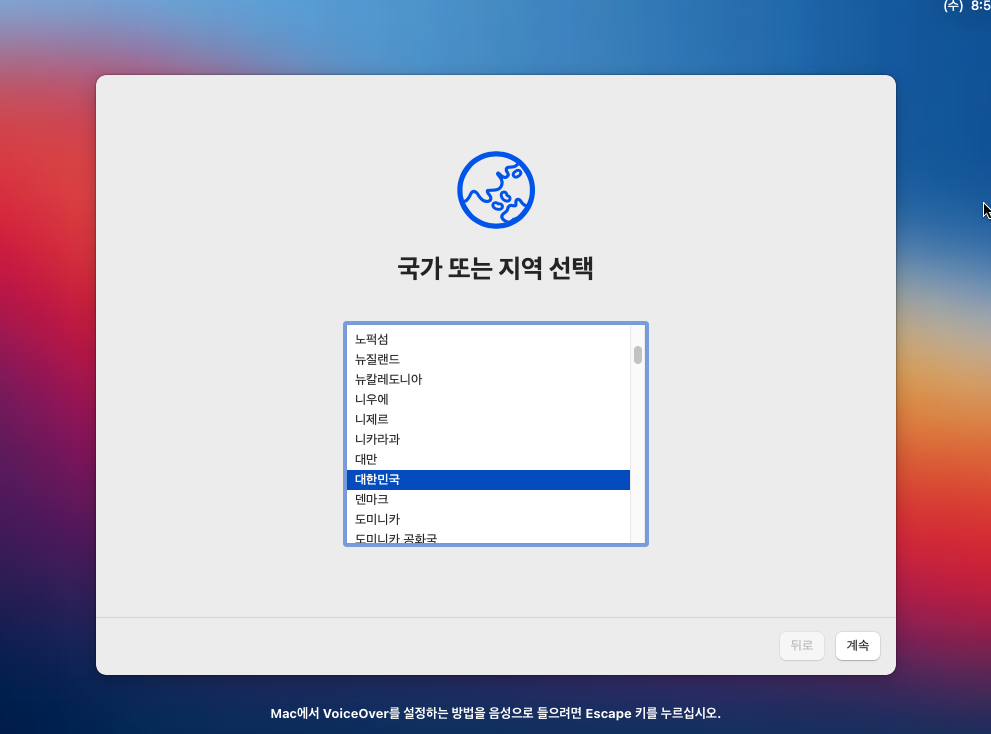
국가를 고르고
다 not now, set up later 를 하면 됩니다. 그럼 잘 됩니다.
화면 크기 키우기
vm을 종료하고
cmd를 관리자 권한으로 실행하고
cd "C:\Program Files\Oracle\VirtualBox\"

VBoxManage setextradata "{VM 이름}" VBoxInternal2/EfiGraphicsResolution 1920x1080
이렇게 할 수 있습니다.
해상도 정보
Choose a Resolution:
  1280x720 | 1920x1080 | 2560x1440 | 2048x1080 | 3840x2160
    HD         FHD          QHD         2K          4K