[GitHub Actions] self-host runner 사용하기 in Ubuntu
사용하기 전에 먼저 환경 설정을 합니다.
환경설정
Ubuntu 설치
이곳에서 우분투 22.04.3 LTS 버전 desktop을 다운로드 합니다.
그리고 Virtual Box를 사용해서 설치합니다.
Git 설치
sudo apt-get update
sudo apt-get install git
Go 설치
다른 사람의 깃허브 저장소를 이용해서 설치합니다.
아니면 그냥 wget을 해서 설치하는 방법도 있습니다.
git clone https://github.com/udhos/update-golang
cd update-golang
sudo ./update-golang.sh
그러면 /usr/local/go에 설치가 됐고 환경변수 추가를 해줍니다.
vi ~/.bashrc
환경변수 편집 파일에 들어가서
export PATH=$PATH:/usr/local/go/bin
위 내용을 추가해주고
source ~/.bashrc
확인하려면
go version
하면 golang 버전이 나옵니다.
Runner 다운로드
사용하려는 저장소에서 Settings > Actions > Runners로 이동합니다.
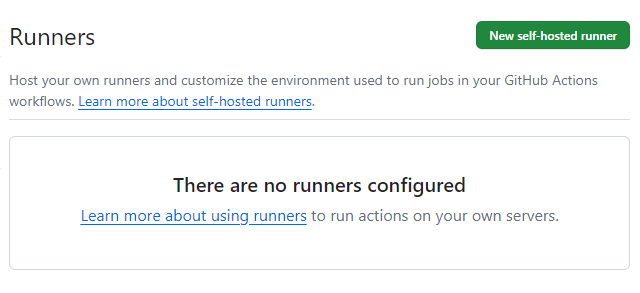
우측 상단에 New self-hosted runner를 눌릅니다.
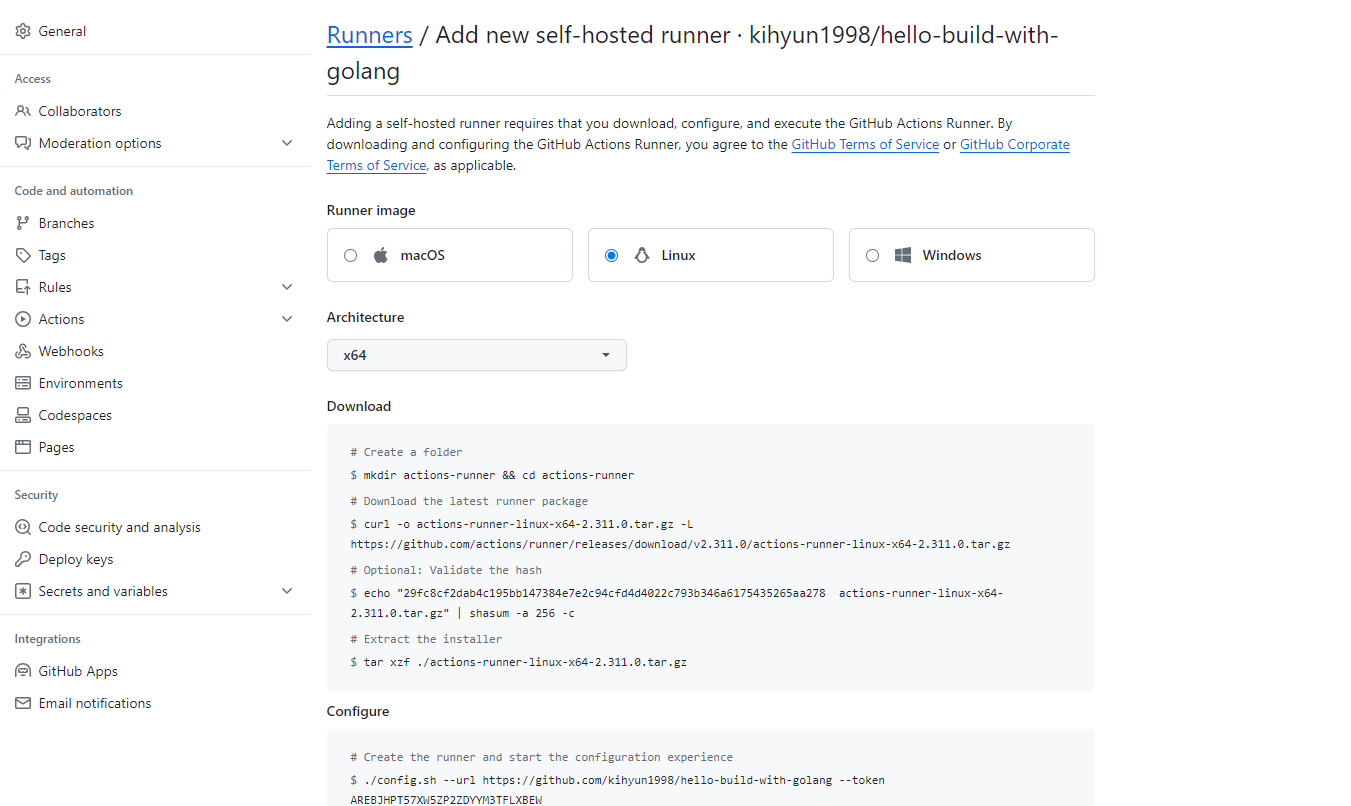
다운로드와 설정 절차에 따라 진행을 합니다.
Runner 다운로드 절차
중요한건 여기서부터 root로 진행할 수 없습니다.
apt install curl
밑에 부분은 나와있는대로 설치하면 됩니다.
curl -o actions-runner-linux-x64-2.311.0.tar.gz -L https://github.com/actions/runner/releases/download/v2.311.0/actions-runner-linux-x64-2.311.0.tar.gz
mkdir runner1
tar -xvf action-runner-linux-* -C /home/user/runner1
cd /home/user/runner1
압축해제 하시면 config.sh과 run.sh이 나옵니다.
Runner 설정
./config.sh --url https://github.com/<유저이름>/<저장소이름> --token <토큰>
그 페이지에 있는거 복사 붙여넣기 하는데 중요한 점은 새로고침을 하고 해야한다. 왜냐하면 이게 토큰이 만료가 되기 때문이다.
./run.sh
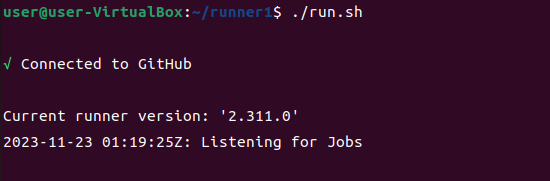
이러면 Runner 실행까지 됐습니다.
yaml파일 설정
저장소 루트 경로에
.github/workflow 폴더를 만듭니다.
name: Go

on:
  push:
    tags:
      - 'V*'

jobs:

  test:
    name: 🦾 Unit Test & Build
    runs-on: self-hosted

    steps:

    - name: ✅ Check out code into the Go module directory
      uses: actions/checkout@v3

    - name: Extract Tag name
      run:  echo "TAG_NAME=$(echo ${{ github.ref }} | sed 's|refs/tags/||')" >> $GITHUB_ENV

    - name: Use Tag Name
      run:  echo "Tag Name is $TAG_NAME"

    - name: 🔥 Get dependencies
      run: go mod download

    - name: 🛠️ Build
      run: make build

    - name: 💽 Test
      run: make test
이런식으로 태그가 Create 되면 Run 하도록 했습니다.
신기하게도 잘 작동합니다.
sftp로 파일 이동
SSH key 발급 및 등록
ssh-keygen -t rsa -b 4096 -C "Git Hub 계정 이메일"
발급 받은 공개키(id_rsa.pub)를 옮길 대상 서버의 ~/.ssh/authorized_keys 파일에 추가합니다.
vim ~/.ssh/authorized_keys
Github Secrets 등록
Github repository > Settings > Secrets and variables > Actions > New repository secret
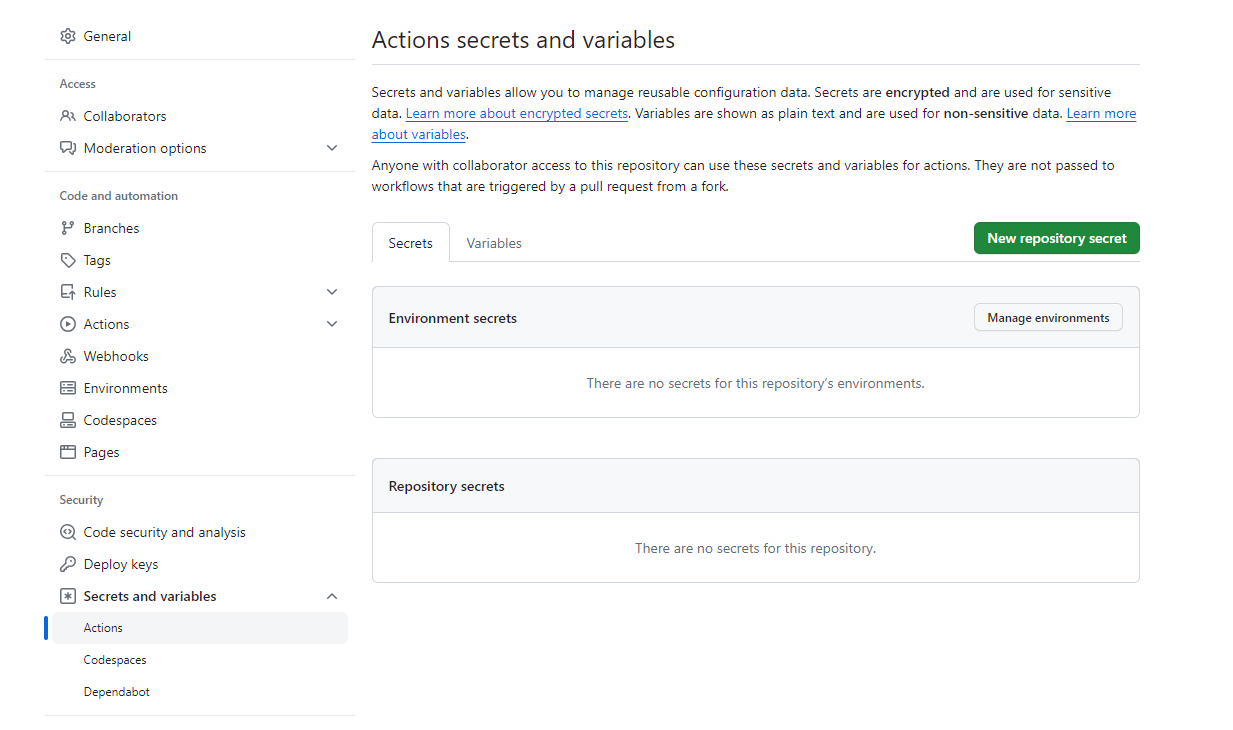
Name에 SSH_KEY라고 적고 Secret에 발급 받은 개인키(id_rsa)의 내용을 넣으면 됩니다.
yaml 파일 작성
    - name: 🚚 Transfer files use SFTP
      uses: appleboy/scp-action@master
      with:
        host: <대상 IP>
        username: <접속 계정>
        key: ${{ secrets.SSH_KEY }}
        source: <옮길 파일>
        target: <옮길 위치>
self-hosted VM에 Docker 설치
appleboy 저걸 사용하려면 Docker가 설치돼있어야 합니다.
- apt update
sudo apt-get update
- 필요한 패키지 설치
sudo apt-get install apt-transport-https ca-certificates curl gnupg-agent software-properties-common
- Docker의 GPG 키 추가
curl -fsSL https://download.docker.com/linux/ubuntu/gpg | sudo apt-key add -
- Docker의 공식 apt 저장소 추가
sudo add-apt-repository "deb [arch=amd64] https://download.docker.com/linux/ubuntu $(lsb_release -cs) stable"
- apt update
sudo apt-get update
- Docker 설치
sudo apt-get install docker-ce docker-ce-cli containerd.io
- 실행 확인
sudo systemctl status docker
- docker.sock 권한 변경
sudo chmod 666 /run/docker.sock
권한 변경하지 않으면 Permission denied 나옵니다.
파일 전송 후 저장소 clean하기
보안을 위해서 저장소를 비워줘야 하는 경우가 있습니다.
    - name: 🧹 Clean up local directory
      run: rm -rf <저장소 위치>/<저장소 이름>/*
이렇게 안하면 에러난다.
저장소가 test라고 한다면
rm -rf /home/user/runner1/_work/test/test/*
위와같이 해야한다.
추가정리
1. workspace
${{ github.workspace }}
위와 같이 사용한다면 /home/../runner/repo/repo 경로를 사용할 수 있다.
2. 환경변수 사용
${{ env.TEST_VAL }}
환경변수를 등록했다면위처럼 활용할 수 있다.
3. appleboy/scp-action의 기능
    - name: 🚚 Transfer files use SFTP
      uses: appleboy/scp-action@master
      with:
        host: IP
        username: root
        key: ${{ secrets.SSH_KEY }}
        source: "${{ github.workspace }}/*
        target: "~/build/${{ 없는 폴더 }}"
없는 폴더를 넣으면 알아서 만들어준다.
단점은 만들어줘도 github.workspace 경로는 자동 추가라 어쩔 수 없음